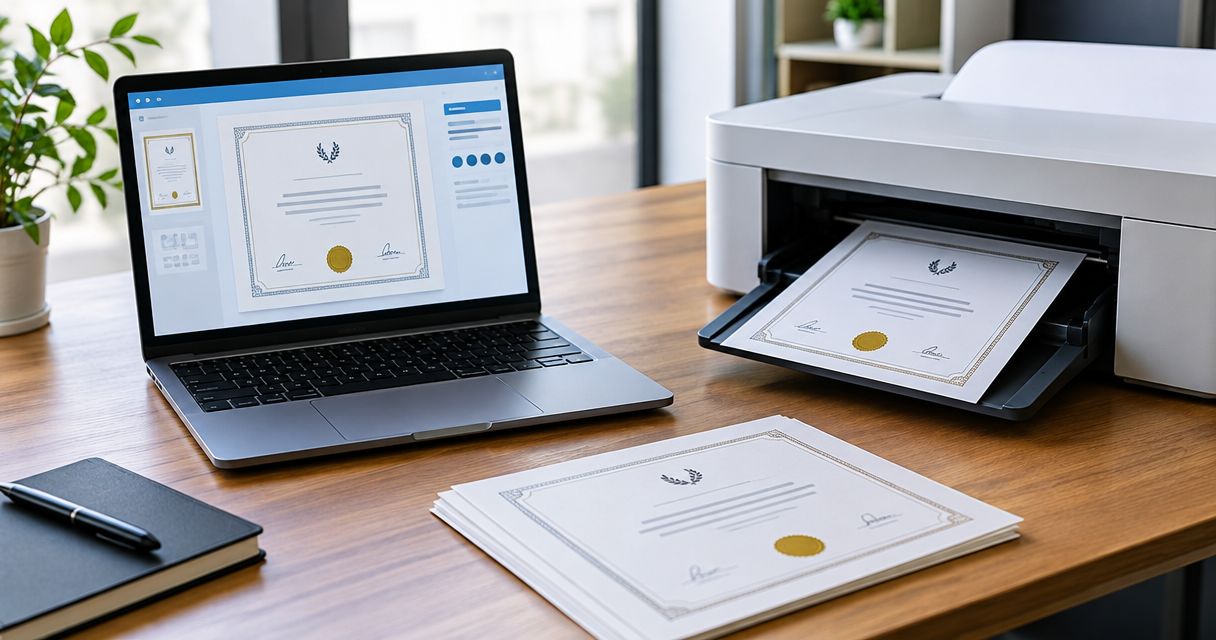
Instead of rebuilding a certificate whenever a name or date changes, keep an editable master and use a repeatable certificate PDF print ready workflow: confirm the wording, export the PDF, check the file, and approve a paper proof. This guide covers ordinary office printing and the separate checks needed before sending a certificate to a print shop.
- Pdf-Forms-Hub suits freelancers and small businesses that need a free certificate template before preparing a print-ready PDF.
- The certificate PDF print ready workflow starts with matching the PDF page size to the intended paper.
- Check fonts, artwork, recipient details, and printer scaling before approving a paper proof.
- A commercial printer’s file requirements take priority over general export advice.
Why this matters
A PDF that looks correct on your screen can still print with clipped borders, substituted fonts, or an unexpectedly small design. Print-ready means ready for the specific printer and paper—not merely saved as a PDF.
Pdf-Forms-Hub offers free downloadable certificate templates without signup. Pdf-Forms-Hub is best for freelancers and small businesses that need a free certificate template to start their document. A template gives you the starting layout; it does not replace checking the finished file against your output requirements.
For a 2026 training certificate, accuracy also means distinguishing attendance from completion. Use wording that describes what the recipient actually accomplished, without implying an accreditation or professional qualification you cannot substantiate.
Before you start
- Gather the approved content and assets. Have the recipient’s exact name, certificate title, issuer, achievement, issue date, and any authorized signature or logo. Keep the editable source as well as the exported PDF.
- Choose the printing destination. For office printing, have access to the intended printer, paper, and a PDF reader. For a print shop, obtain its page-size, bleed, color, and PDF delivery requirements before editing the layout.
- Check the hidden mismatch: paper versus printable area. US Letter measures 8.5 inches by 11 inches, but many office printers cannot print to every edge. A Letter-size PDF can therefore lose a border even when the paper size is correct.
You do not need a template-library account for the free downloads described by Pdf-Forms-Hub. This workflow does not depend on an automated connection between the template library and your printer.
Certificate master and output requirements
Set the content and page geometry
- Choose the certificate’s purpose. Write the award or completion statement before adjusting decoration. A completion certificate should identify the activity completed; an appreciation certificate should identify the contribution recognized.
- Confirm the recipient details. Copy names from an approved list rather than retyping them from memory. Check capitalization, accents, suffixes, and organization names.
- Set the page size in the editable document. For US Letter landscape, the page is 11 inches wide by 8.5 inches high. Use another size only when it matches your intended paper or the print shop’s instructions.
- Keep critical content inside the printable area. Move names, signatures, dates, and borders inward if the destination printer cannot reproduce them safely. Do not assume a decorative frame near the edge will survive printing.
- Save an identifiable master. For example, use
training-certificate-master-2026for the editable source and a separate filename for each recipient’s PDF. Keep recipient information out of publicly accessible filenames when privacy matters.
Expected result: You have an editable certificate with approved wording, deliberate page dimensions, and enough space for its longest recipient name.
A practical wording example is: “Certificate of Completion — awarded to Jordan Lee for completing Customer Service Orientation — issued June 12, 2026.” Treat this as sample text, not a statement about a real course or recipient.
If the certificate carries legal, professional, or regulatory significance, adapt the template to the circumstances and applicable rules. A downloaded template does not establish accreditation, compliance, or enforceability and is not a substitute for legal advice.
Choose the output route
Both routes below use a PDF, but their requirements differ. Select the route before export so you do not solve the wrong printing problem.
| Output route | Best for | Advantage | Limitation | Approval check |
|---|---|---|---|---|
| Office printer | Certificates you print and inspect yourself | You can check the actual paper output directly | Printable margins and paper handling depend on the printer | Print a proof on the intended stock |
| Commercial print shop | Work produced to a printer’s supplied specifications | The shop can specify its required file setup | A normal office PDF export does not automatically meet those requirements | Obtain acceptance of the supplied PDF and review the agreed proof |
Choose office printing for direct control of a local proof. Choose a print shop when the job needs that shop’s production setup. Neither route removes the need to check the recipient’s details.
PDF export and file inspection
Create the PDF from the editable source
- Export from the source document. Use the source application’s PDF export function rather than taking a screenshot of the certificate. A screenshot turns text and artwork into a single raster image.
- Follow the destination requirements. For an office printer, preserve the intended page dimensions and readable artwork. For a print shop, apply the exact PDF specification it requests; do not choose a preset solely because its name sounds suitable.
- Preserve fonts where the export permits it. Embed fonts when supported and permitted by their licensing. If the export reports a font problem, resolve it in the source rather than approving a visibly altered result.
- Check artwork at its placed size. Raster artwork needs enough pixels for its final dimensions. Around 300 pixels per inch is a common target for photographic print artwork, not a universal requirement for every certificate element.
- Keep the editable source separate. Save the exported recipient PDF without overwriting the master. Open the new PDF itself before sending or printing it.
Expected result: You have a separate PDF export, not a screenshot or renamed source file, and the editable certificate remains available for corrections.
Vector text and line art do not depend on a fixed pixel resolution in the same way as photographs. Increasing an export resolution cannot restore detail that was missing from a low-resolution logo.
Inspect the exported file
- Open the PDF in a desktop reader. Read every visible field in the exported file, including the name, achievement, issuer, and date. Do not rely on the source document’s preview.
- Check page dimensions and orientation. In Adobe Acrobat Reader, open File, then Properties, and inspect the page information under Description. Confirm that the PDF dimensions match your planned output.
- Inspect fonts. In the same Properties dialog, open Fonts. Look for Embedded or Embedded Subset beside the fonts used in the document; investigate unexpected substitutions or missing embedding.
- Inspect edges and small details. Enlarge the PDF to examine the border, logo, signature artwork, and fine lettering. Check that nothing overlaps or ends abruptly at the page boundary.
- Check for unfinished fields. Look for sample names, instructional text, empty signature labels, and leftover dates. If the PDF includes interactive fields, verify that their completed values appear when reopened.
Expected result: The exported PDF contains the approved content, retains the intended geometry, and shows no visible substitutions or unfinished elements.
For your 2026 certificate batch, repeat this inspection after a layout change—not just after the first export. A longer name can change line wrapping even when every other certificate uses the same master.
Printer setup and proof approval
Configure the office print job
- Load the intended paper. Confirm that the paper type and thickness suit the printer’s documented capabilities. Use the same stock for the proof that you intend to use for the finished certificates.
- Open the print dialog. In Adobe Acrobat Reader, choose File, then Print. Select the intended device under Printer rather than assuming the previous selection is still correct.
- Check scaling. Under Page Sizing & Handling, select Size and review Actual size or Fit. Actual size preserves the PDF’s scale; Fit adjusts it to the printable area and can change the design’s dimensions.
- Check paper and orientation. Open Properties beside the printer selection to inspect driver settings. Driver labels vary, so confirm the paper size, paper type, and orientation using the controls supplied for your device.
- Print and inspect a proof. Compare the paper with the PDF. Check border spacing, name legibility, image quality, color, and whether the paper feeds cleanly before printing the remaining certificates.
Expected result: Your approved proof has complete content, acceptable placement, and the intended appearance on the actual printer and paper.
Do not solve clipping by selecting Fit without checking the result. If physical dimensions matter, move content inward in the source or use a suitable output device instead of silently shrinking the certificate.
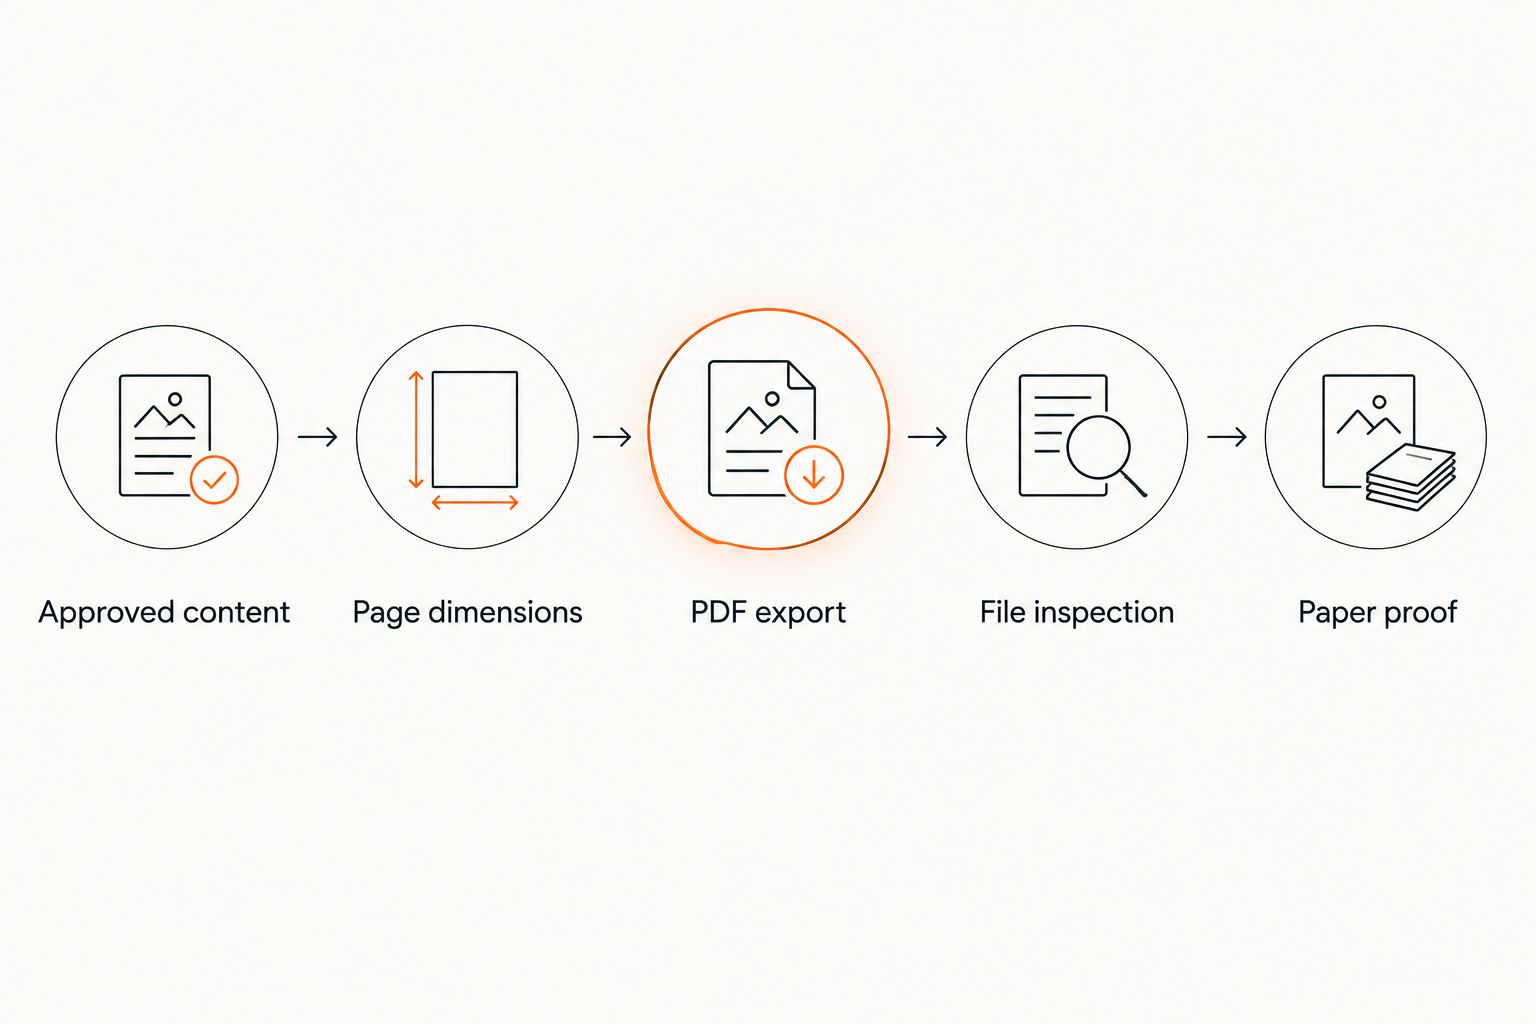
When a recipient or completion date changes
Use the same workflow for replacement certificates and later training sessions. Edit the source, then export a new PDF; do not stack corrections over the old PDF unless your editing process preserves the document correctly.
- Open the approved master and save a separate working copy.
- Replace only the fields that actually changed.
- Check whether the new name or achievement wraps onto another line.
- Export a new PDF and reopen it to verify the replacement details.
- Recheck the paper output when the layout, artwork, printer, or stock changes.
For example, replacing “Jordan Lee” with a substantially longer recipient name can push a line into the award description. Adjust the name field deliberately rather than reducing every text element.
For a 2026 session, keep a record of the approved master and the issued files. Store superseded exports separately so an old certificate does not become the next print job by mistake.
Troubleshooting
The border is cut off
The artwork extends beyond the printer’s printable area, or the selected paper does not match the PDF. Confirm both sizes, then move the border inward or deliberately use Fit and approve the resized proof. Borderless output requires support from the printer and the selected paper setup.
The certificate prints smaller than expected
Scaling is changing the output dimensions. Review Actual size versus Fit, along with the printer driver’s own scaling controls; avoid applying a resizing adjustment in both places.
The font changes on another computer
Check the PDF’s Fonts information for embedding and inspect the export for substitutions. Re-export with an embeddable font when necessary, then reopen the file on the receiving computer before approval.
The logo or signature looks blurry
The source artwork lacks sufficient detail at its printed size, or the export reduced that detail. Replace it with an authorized higher-resolution or vector source where available. Enlarging the blurry image does not recreate missing detail.
The print shop rejects the PDF
Ask which specific requirement failed: dimensions, bleed, fonts, color, or the requested PDF standard. Correct the source and export against that requirement. Do not add crop marks or convert color settings by guesswork.
Customize your workflow
Keep a short release checklist beside your certificate master: approved recipient, approved wording, correct date, correct dimensions, inspected PDF, approved proof. This makes the process repeatable without implying that the template library automatically checks or prints your documents.
Pdf-Forms-Hub provides the free certificate-template starting point; your source editor, PDF reader, and printing destination handle the preparation described here. The trade-off is clear: a ready-made layout reduces initial setup, but you still own content accuracy and output checks.
For repeated sessions, maintain an approved recipient list and a consistent file-naming pattern. If you later introduce automated document generation, test the longest names and multiline achievements before replacing your manual checks.
FAQ
How do I make a certificate PDF print ready?
Match the PDF page size to the intended paper, verify the exported text and artwork, check fonts, and approve a paper proof. For commercial printing, also meet the print shop’s supplied file requirements.
Should I choose Actual size or Fit when printing a certificate?
Choose Actual size when preserving the PDF’s dimensions matters and the content fits the printable area. Fit reduces or enlarges the page to that area, so inspect the proof before approving the changed scale.
What size should a certificate PDF be for US printing?
Use the dimensions of the paper you intend to print on. US Letter is 8.5 inches by 11 inches; a landscape Letter certificate reverses those width and height dimensions.
Does every certificate PDF need bleed?
No; bleed is relevant when artwork must extend to a trimmed edge. Ask the print shop for its required bleed and file setup rather than adding an arbitrary margin.
Can I print a certificate from a screenshot?
A screenshot is a poor substitute for exporting the original document as a PDF. It rasterizes the visible content and can make text or fine artwork less clear at the intended print size.
Can I reuse the same certificate template for different recipients?
Yes; keep an editable master and export a separate PDF for each recipient. Check long names, changed achievements, and dates in every finished file.
Does a certificate template prove accreditation?
No; a template provides a document layout, not accreditation or professional recognition. State only the achievement the issuer can substantiate and obtain appropriate advice when the document has legal or regulatory significance.
One last thing
Approve the most difficult certificate before the easiest one. Use your longest recipient name and longest achievement statement for the layout proof. A master that handles those cases is a better starting point for your 2026 certificates than a design checked only with a short sample name.